
Wacky Windmills as made with Grace in Mullingar 25th May 2019
You Will Need:
Kitchen-roll insert
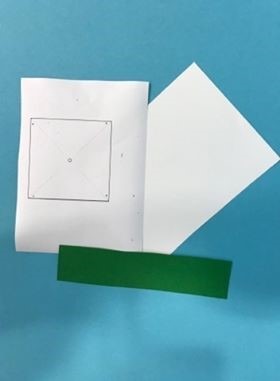
A pinwheel cutout (found on Google images)
Half a piece of A4 white card
A strip of green card
Gems/decorations etc.
Markers/colours and Paints
Glue, Scissors and Hot-glue Gun
Instructions:
1. Paint the cardboard cylinder whatever colour that you want your windmill to be, decorate and allow to dry
2. Cut out the pinwheel template, and cutting along the dotted lines going towards the centre of the square also
3. Using markers or crayons (not paint as the paper gets too soggy), colour in both sides of the pinwheel cutout
4. Fold in one corner of each triangular segment that you have cut into the pinwheel cutout and glue them down with hot-glue. Then using a small bit more hot-glue, put a gem of your choosing in the middle of the pinwheel
5. Using hot-glue again, stick the pinwheel onto the cardboard cylinder to create the windmill, and stick the windmill onto the half-piece of white card. This is your grass
6. Paint and decorate the grass however you want and cut a zigzag pattern into the strip of green card to create a grass effect, wrapping this around the bottom of the windmill and sticking it down.
7. Allow to dry and your windmill is complete